Learning Journeys: Basic Overview
Learning Journeys are our enhanced learning management system that allow you create customized training paths for your team members. This guide will walk you through the basics of our improved Learning Journeys feature!
Prefer a video? Check out our Learning Journey Video Tutorials by clicking here!
Introduction
Learning Journeys is our enhanced learning management system that allows you to create customized training paths for your team members. This guide will walk you through the basics of creating your first learning journey.
Exploring the Learning Journeys Tab - The Basics
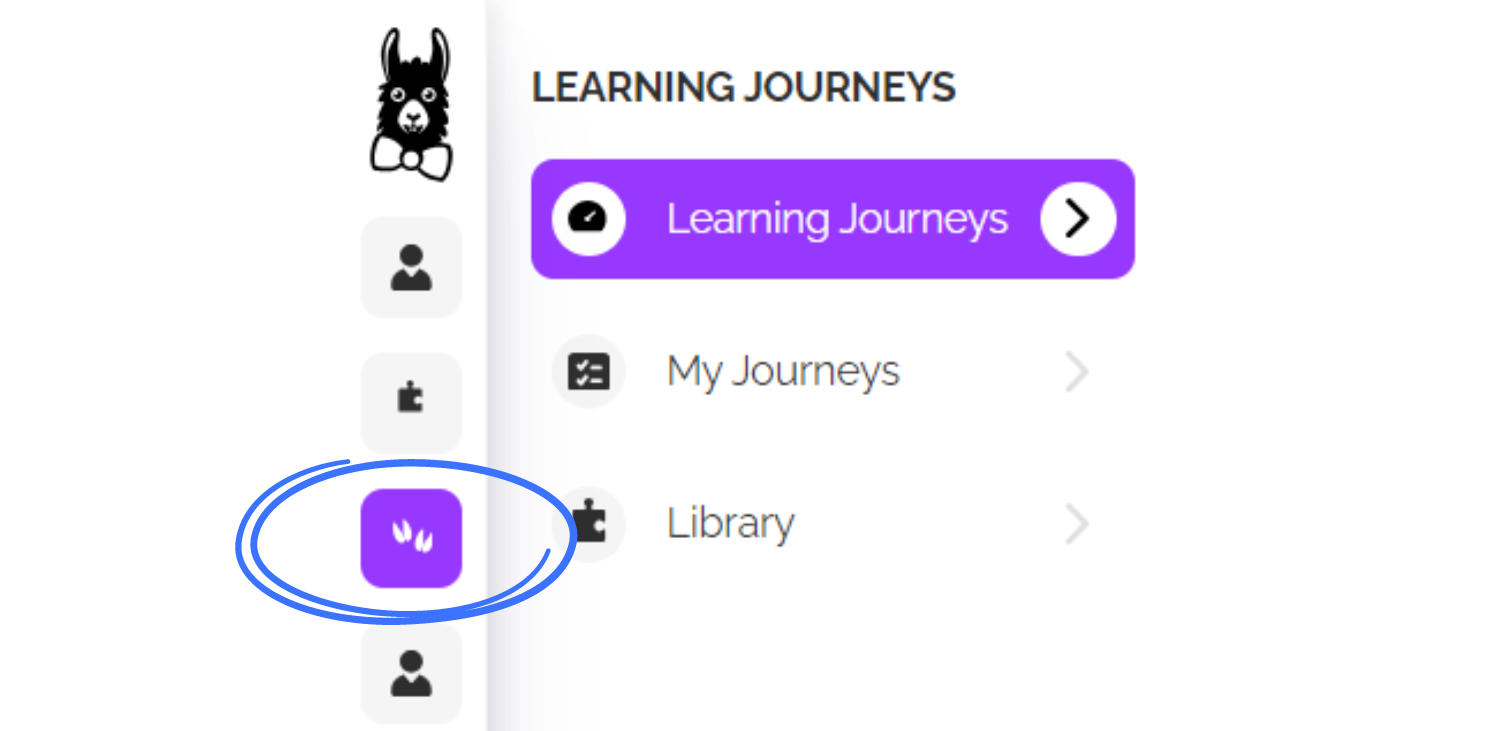
To access Learning Journeys, click on the Llama prints button to access the Learning Journeys tab in your dashboard.

On the Learning Journeys tab, you'll see "My Journeys" and "Templates"

My Journeys is where your customized Journeys will appear. There is also a "Create a Learning Journey" button at the top-right to create a Learning Journey from scratch.
Templates is where you will find our prebuilt, fully customizable Learning Journey templates. Clicking on a template immediately puts you in edit mode and changes the title of the Journey to "Copy of [Journey Title]. You can use these templates as-is or edit the Journey to make it your own! Edit options include reordering the courses;, changing the title, description, and thumbnail; Changing the timing and more.

Creating a Learning Journey Using a Template
Our templates are a great way to get started if you don't know where to start. they give you a basic outline that you can customize to your training needs.
To customize a template, on the Templates tab, click on any of the recommended Learning Journeys to open it in edit mode. From here there are several ways to customize the template.
- Course Order - You can click on the three lines symbol to drag and drop courses to re-order them.

- Assign Rules - Click on the value in the Assign rules column to customize delays between courses and set prerequisites.

- Due Date - Choose when the course will be due based on the date it is assigned.

- Add courses, documents, links, and other elements - Click the buttons at the bottom of the Journey to add new items

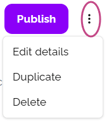
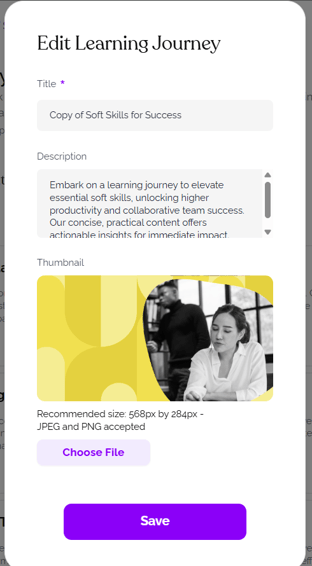
- Edit details - Click the three dots menu then "Edit details" to change the course title, description, and thumbnail. When you have made your changes, click "Save."


- Publish - Once you have made your adjustments, click "Publish" - the Journey will now be ready to assign!
Creating a Custom Journey from Scratch
- Click "Create a Learning Journey"
- Give your Journey a title, description(optional), and upload thumbnail (optional).
- Click "Next"
- Choose "start from scratch"
- Add courses, videos, documents, and other elements.
- Follow the steps in part one of this article to adjust and publish your Learning Journey.
Enrolling your Learners in a Learning Journey
There are two ways to enroll your Learners in a Learning Journey: from the published Learning Journey's page on the "My Journeys" tab or using Bulk Actions.
To Enroll through the Learning Journey page:
- Go to My Journeys and click on the Journey you want to assign.
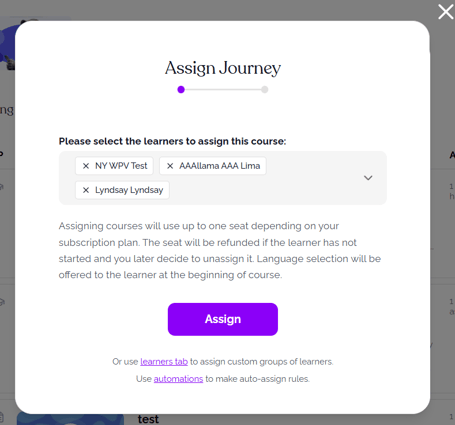
- From the Journey's page click the Purple "Assign" button at the top-right:


4. Choose when you would like to notify your Learners and then click "Assign."
That's it! Your Learners will be notified, and will be able to take the course by clicking the link they receive.
To Enroll using Bulk Actions:
- From the Learners tab of your dashboard, select the Learners you'd like to assign the Learning Journey by checking the boxes next to their names; the purple Bulk Actions bar will appear. Click the "More" dropdown and choose "Enroll in Learning Journeys:"

- Choose the Journey to assign and when you would like to notify your Learners and then click "Enroll."
- That's it! Your Learners will be notified, and will be able to take the course by clicking the link they receive.