Seat-sharing is an Enterprise-only feature. To add Subaccounts on a non-Enterprise subscription, a separate subscription will need to be purchased from the Subaccount's Billing tab.
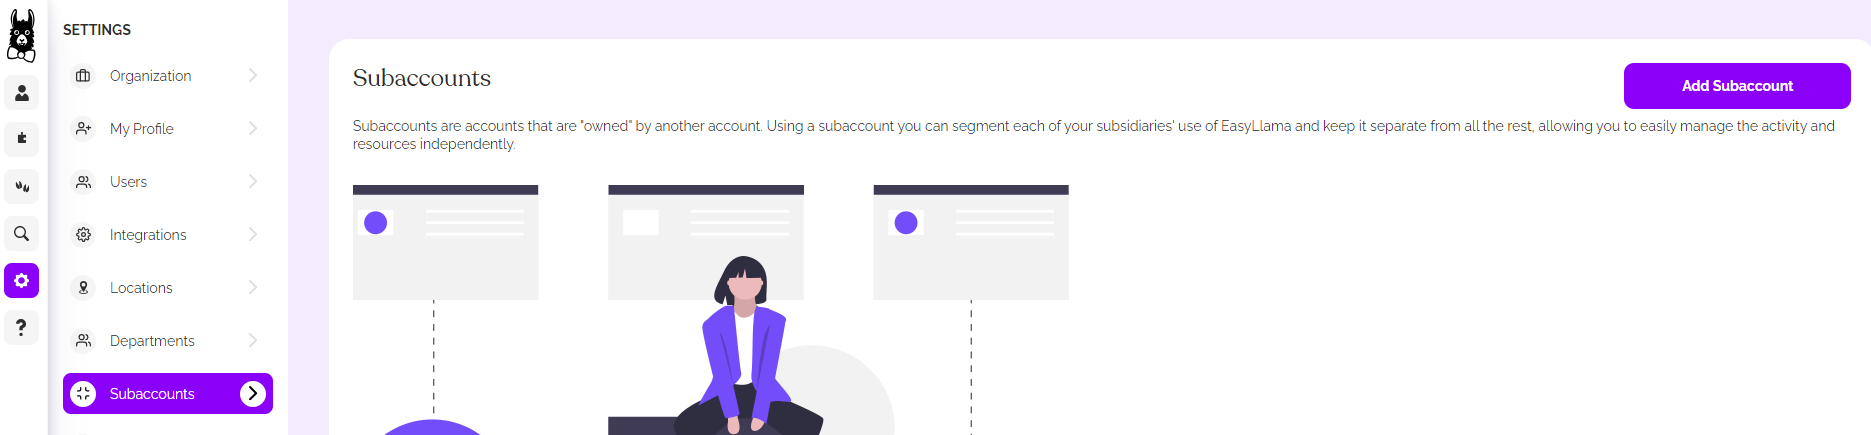
Go to Settings > Subaccounts and click "Add Subaccount"
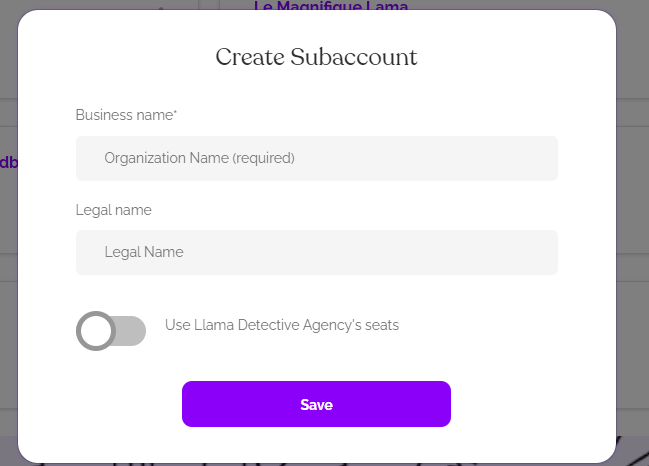
On the next screen, you will be asked to add a Business Name and a Legal Name. These may be the same. It's worth noting that the legal name will appear on Learner Completion Certificates.
You will also select whether this subaccount will share your main account's seats. toggle this setting to on to have subaccounts use seats from your main account's subscription.When the names have been added, and the seat-sharing option chosen, click "Save."
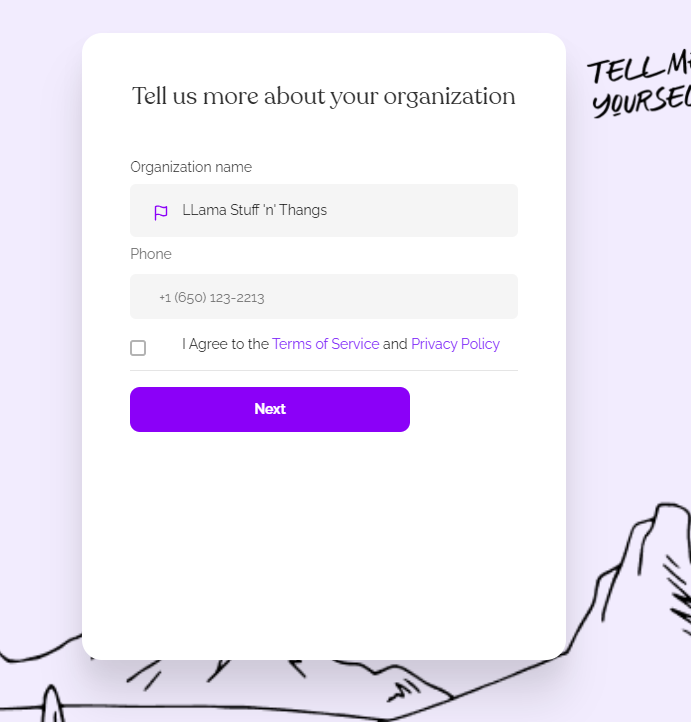
On the next screen, double-check the company name, add a phone number, Review and agree to the Terms of Service and Privacy Policy, and click "Next."
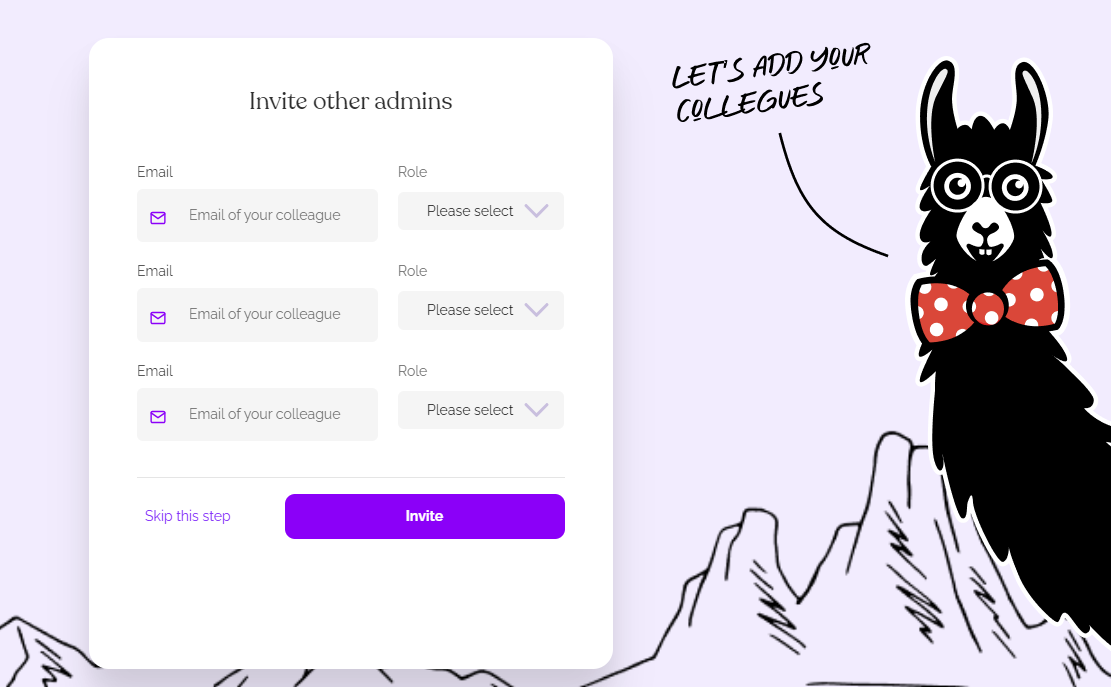
In this step, you will be able to add additional administrative users. This step is not used to add Learners, only dashboard admins. You can skip this step and add the other admins later if you wish.
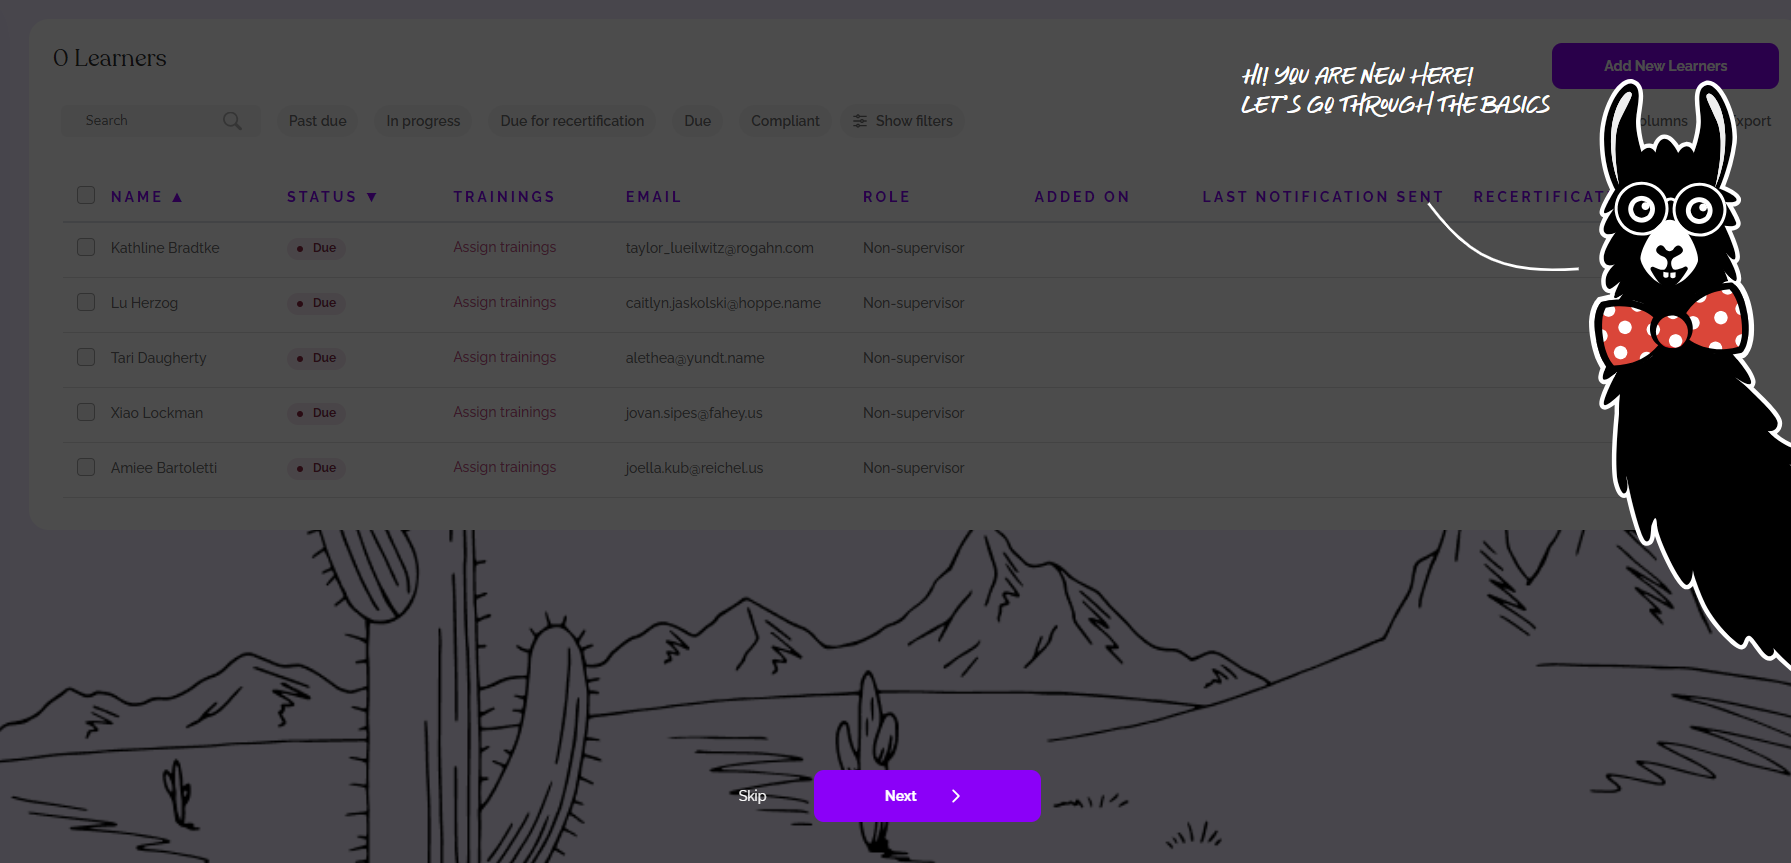
Next, you will be directed through a quick onboarding flow that goes over some dashboard basics. You can click through this or skip it if you don't need it.
Your Subaccount has now been created! If you are not pooling seats with your main account, you'll need to go to Settings > Billing to add a subscription, and then you'll be able to use the dashboard!
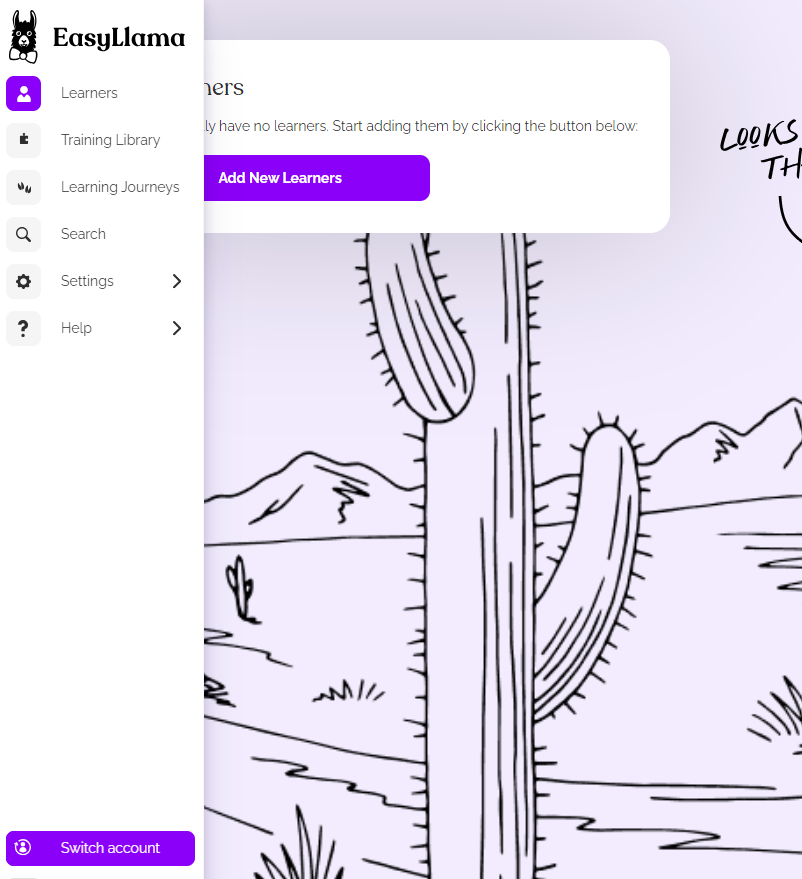
Now that you have a subaccount, you can switch between accounts that share your login email using the Switch Accounts button at the bottom-left of the dashboard.
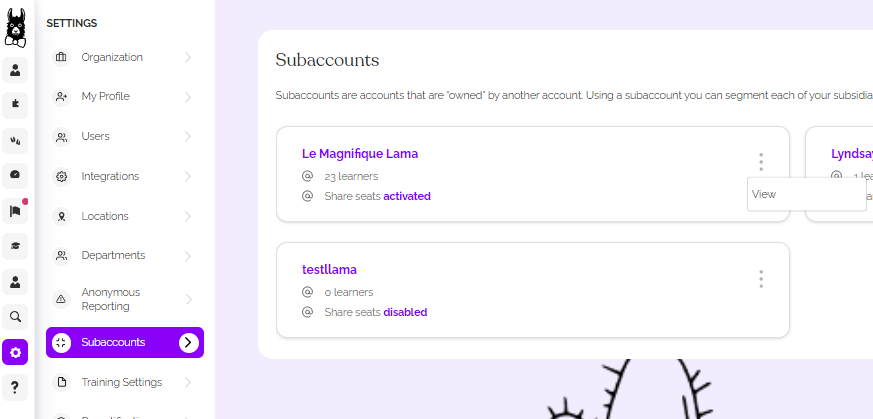
Or go to Settings > Subaccounts > Click the three dots on the tile of the subaccount > and choose "View."
 Updated
by Lyndsay
Updated
by Lyndsay